Media Training: How To Prepare for A Media Interview

Media Training: How To Prepare for A Media Interview

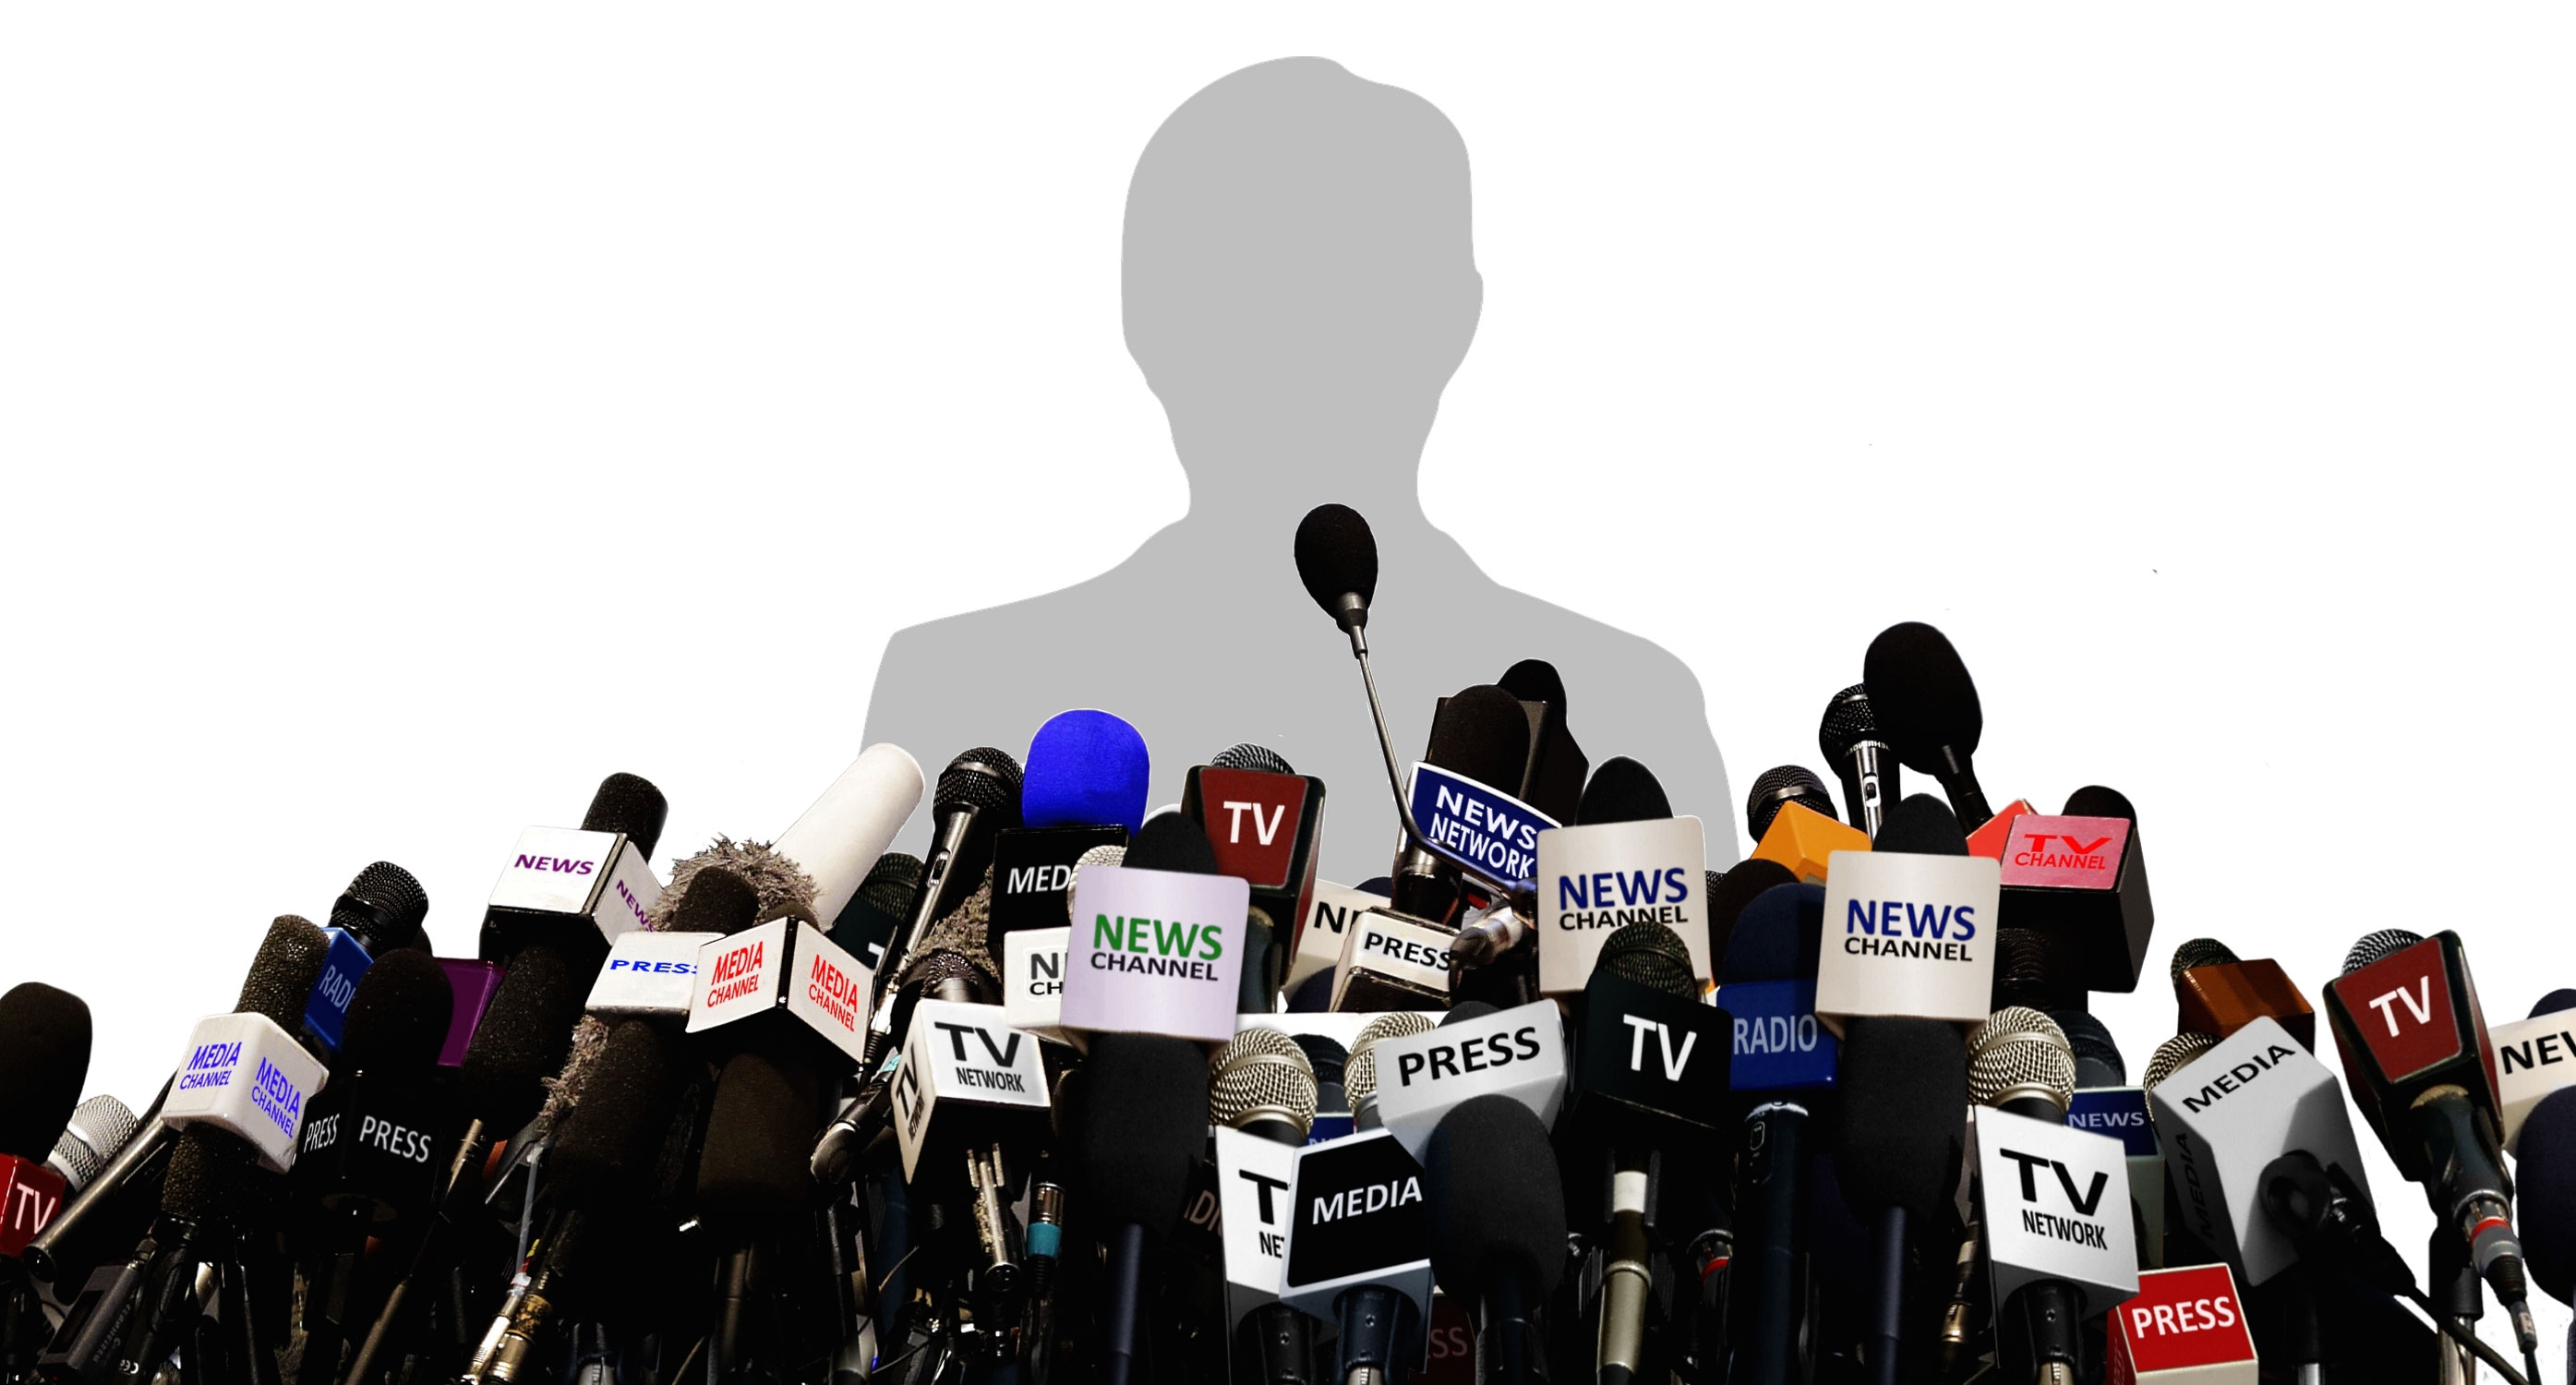
Seriously, who couldn’t use a little bit of free publicity, right? It doesn’t matter if you’re a C-Suite executive, small business owner, or a solo-preneur, for one reason or another the media will come calling…and you need to be prepared to face them. A good interview will help you to put your message “out there”. The bonus is that it’s free publicity!

An Interview Is Forever

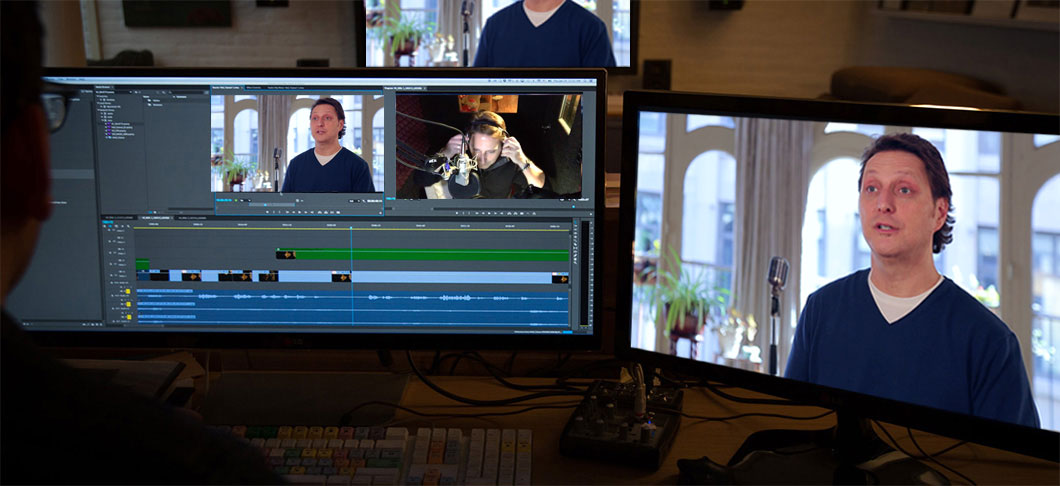
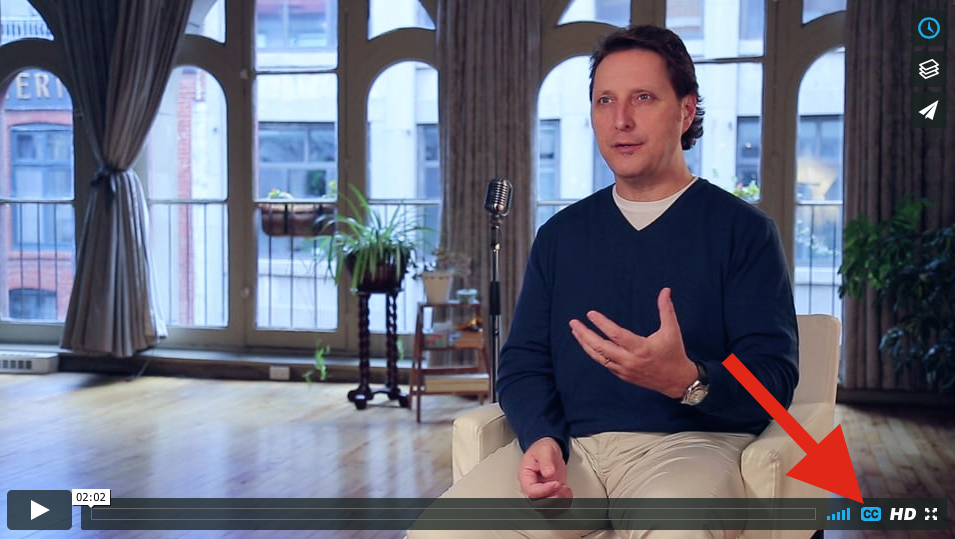
It doesn’t matter how good you are at speaking one-on-one or to a group of people in the boardroom. When the lights come on or the microphone is put in front of you, doing an interview is a whole different ballgame. What you say during your interview and how you say it will be forever in the public record as a video or audio recording that can be played back and used whenever the broadcaster sees fit so be prepared.

The 7 Keys to A Killer Interview

Here are 7 key things to remember as you prepare for and execute your media interview:

  1. People relate to real people so be natural, be your self.
  2. Relax. In some circumstances easier said than done I know but relaxing will help you be attentive and in the moment.
  3. A way to be sure you’re relaxed is to be prepared. Know the subject you’re being interviewed about by reviewing notes and documents.
  4. In order to get the most out of your chance in the spotlight, prepare 3 or 4 key messages you want to incorporate into the interview. Have those 3 or 4 points printed out on a single sheet of paper large enough for you to see easily.
  5. Speak your audience’s language by not using industry jargon that they won’t know.
  6. Keep your sentences short and to the point. It will help your audience follow you and depending on how the interview will be used, will make it easier for the editor to pull “sound bites” ensuring a longer shelf life to your interview.
  7. No matter how ill prepared a reporter may seem to be or doesn’t appear to understand the subject matter, never get angry or speak in a condescending tone. This is your time to shine so be gracious.

Bonus

An important extra point is that you can be in control of the interview. Don’t feel that you need to stick to what your interviewer is asking. If the reporter doesn’t bring up the key points you want to make do the old politician switch-a-roo. Acknowledge the question by saying “that’s an interesting question but…” and then adding the point you want to make.

Not All Interviews Are Alike

Of course, there are different reasons you may be asked to speak with the media and each should be prepared for differently. If you need help preparing for your interview I’d love to help, just send me a note or call me at one of my numbers above.

A Final Thought

When I worked in radio I knew that I was only as good as my last break and that my audience was continually tuning in and out, so I made every break count and you need to do the same. Remember, first impressions are lasting impressions so assume that every time you do an interview that it’s a completely new audience and a new set of people you’re meeting for the first time, make it count!


How To Create Video Subtitles in .SRT Format

How To Create Video Subtitles in .SRT Format

Early in my career, long before I was working on-air or doing voice overs I had a client that wanted French subtitles placed on an English video I had shot and edited. This was long before the internet and personal computers and honestly, I was lost.

I contacted a local post production studio and hired them to work with me on the project.

It was a long and tedious process and cost my client a lot of money to get done between translator, studio time and my fee.

The good news is that these days, in the digital domain it’s much simpler and cheaper.

What You’ll Need
You’ll need 3 things:

1) a basic text editor,

2) the transcript and

3) the time code of the video you’re creating .SRT subtitles for.

Get a Free App
I use TextWrangler to create my subtitles, it’s free Mac software. If you’re on PC I hear a good alternative is Notepad++ though I’ve never tested it.

The Steps
1. Create a blank document in your text editor, copy and paste your transcript into it.

2. Break up your transcript into short phrases, I don’t recommend going beyond 50 characters, that includes the spaces between words and punctuation (see an example). If you use too many words they will be pushed down onto a second line and could start obscuring your visuals.


3. Then number each line sequentially on the line above it as in this example:


4. Then finally you need to add the time code for each of the phrases, like this. The time code on the left is when the subtitle will appear onscreen and the time code on the right is when it will end.


5. Once you’ve finished preparing your document “save as…” and simply add .srt to the end of the file name…and you’re done!

Upload Your .SRT
When you upload your video to Facebook, YouTube, Vimeo, etc., upload your newly created .srt file along with it!

I suggest that while you’re at it that you create French and Spanish translations to cover all of the bases. It is after all the World Wide web. Note: each language will need to be its own separate .srt file.

Click here to watch my final profile video. Be sure you have CC (closed captions) activated to see how it turned out. You can toggle between the English subtitles and French translation.

Free Bonus Swipe File
Click here to download a swipe file to get you started on creating subtitles for your video in the .SRT format! Open it in your basic text editor and modify it as you like.

I hope this was helpful. Leave your comments and a link to your finished video with subtitles below.

How To Write A Press Release That Gets Noticed

How To Write A Press Release That Gets Noticed

newspaper-866525_1920

As much as the media seems in a state of flux these days the one thing that remains is the need for an organization to disseminate it’s story. Despite the many options via social sharing, the one stable constant is the press release. Proper usage of the press release, remains paramount to get the media’s attention.

While it is rare that a media outlet will use your press release verbatim you can be sure that not following the standards will get your press release tossed into the trash.

In the 25 years I worked in radio, it was a daily task (or toil) to go through the press releases I received. I would often make snap judgment calls because I just didn’t have the time, sometimes without even opening the envelope or reading the email.

Press Release Guidelines

Here are the guidelines you should follow to assure your press release will get noticed and more importantly get your organization noticed:

  1. Keep it to one page – The point of the press release is to peak the interest of the media outlet, writing your entire life story isn’t going to do the job. It will bore them if they even read it at all. Give them one basic thought or idea and a call to action for more information. That’s it.
  2. Use proper formatting – As a broadcaster/reporter rushes through the day’s pile of press releases they need to see what they expect to see in a scanable way. Make it easy for them by including these  9 elements:
    1. For Release Date – right at the top of your press release, is the release date or time. Sometimes there is a reason to withhold information until a certain time, mark that date and time here. If it’s for immediate release mark it as “For Immediate Release”.
    2. Contact Information – put your name and contact information right below the release date info. Make it easy to contact you to get more information or to set up an interview. Use the heading “For More Information”.
    3. The Headline – is by far THE most important part of the press release. Without a good headline, no curiosity will be generated to dig deeper into the story. Write several headlines, come back to them later in the day and see which one grabs your attention the most.
    4. Dateline – is what goes just before the story. Put the location and the date of the release, followed by a dash (-) and then begin the body of your release. It can be bolded or put in between brackets but should stand out as not part of the story.
    5. First Paragraph – now that you’ve hooked them with your headline, tell them what you’re going to tell them in the first paragraph. Don’t get flowery with your writing, tell them the facts to support your headline. More details will come in the second paragraph. Beyond that let them contact you for more information. Remember this release needs to be one page only.
    6. Quotes – beyond the headline and the first paragraph include quotes from the important people around your story. Put simply, quotes bring the story to life by putting real people into the action.
    7. A Call to Action – should fall to the bottom of your content as a final push for them to contact you for more information or to setup an interview with you or with the personality of the press release. Whatever you do, do not hype your organization here. The point is for the reader to take ‘action’ like visit the website for more information or contact you. Hyping or selling here will get you tossed.
    8. The Boilerplate – is a concise paragraph about your company. It’s an old newspaper term to describe a “block” of text that would be used over-and-over again. 2 sentences should suffice.
    9. End of Content Marker – (# # #) is an old print media sign that there is “no further copy to come”. Other ways to mark the end is:  -30- , XXX (Roman numerals for 30) or simply -END-. There is no logical reason to include these today, but can be seen as a respectful tip of the hat, signaling that you know what you’re doing and can be trusted.
  3. Send it to the right person – Know your audience. Sending a press release about your new fleet of trucks to a light rock music radio station will get tossed and a guarantee that anything you send after that won’t even get opened. Build your media list carefully and diligently remembering that people change jobs. Keep it up to date.
  4. Follow up – Wait a day or two after you know the press release was received and send an email or make a phone call to your list. See if they have any questions or would like to set up an interview. Don’t ask them “did you get it”…”did you read it”. The key here is to be a resource to help them do their job. Think of it as a partnership.

Include Pictures

If you’re dealing with print media, you may want to include a link to high res pictures they can use.

NOTE: If you’re looking for wider distribution than just your local market I suggest using PR Web. In a head to head comparison with eReleases done by Soulati Media, PR Web was found to give greater online exposure.

Bottom Line: Mastering the art of the press release will give you the media canvas you need to build your organization’s brand identity.

YOU'RE ALMOST THERE!

Fill out this form to download your copy

Thanks! Please, check your email to confirm your request!