Early in my career, long before I was working on-air or doing voice overs I had a client that wanted French subtitles placed on an English video I had shot and edited. This was long before the internet and personal computers and honestly, I was lost.
I contacted a local post production studio and hired them to work with me on the project.
It was a long and tedious process and cost my client a lot of money to get done between translator, studio time and my fee.
The good news is that these days, in the digital domain it’s much simpler and cheaper.
What You’ll Need
You’ll need 3 things:
1) a basic text editor,
2) the transcript and
3) the time code of the video you’re creating .SRT subtitles for.
Get a Free App
I use TextWrangler to create my subtitles, it’s free Mac software. If you’re on PC I hear a good alternative is Notepad++ though I’ve never tested it.
The Steps
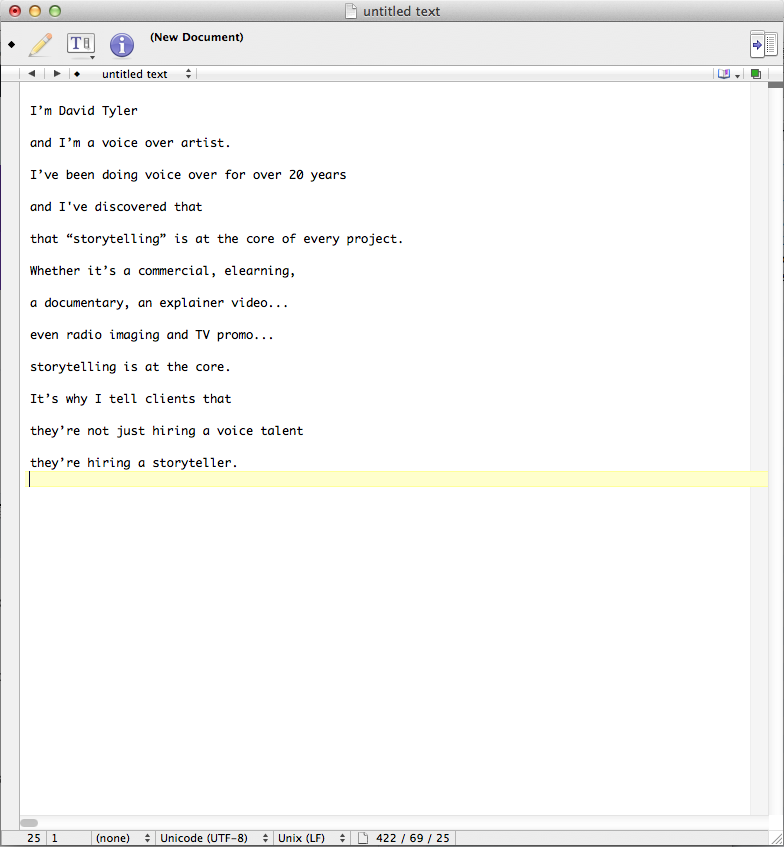
1. Create a blank document in your text editor, copy and paste your transcript into it.
2. Break up your transcript into short phrases, I don’t recommend going beyond 50 characters, that includes the spaces between words and punctuation (see an example). If you use too many words they will be pushed down onto a second line and could start obscuring your visuals.
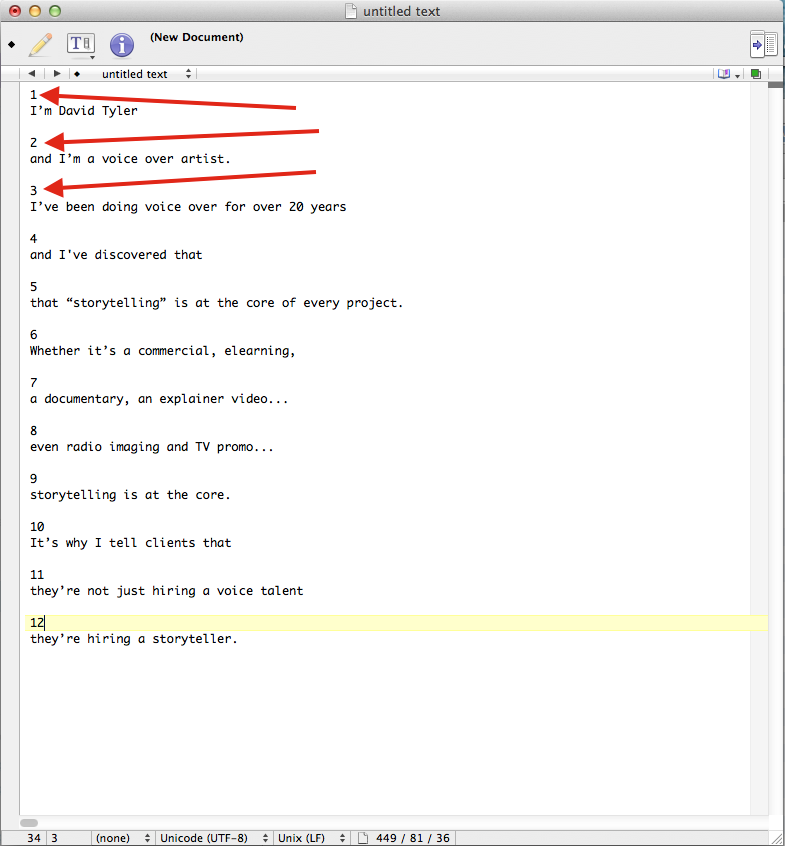
3. Then number each line sequentially on the line above it as in this example:
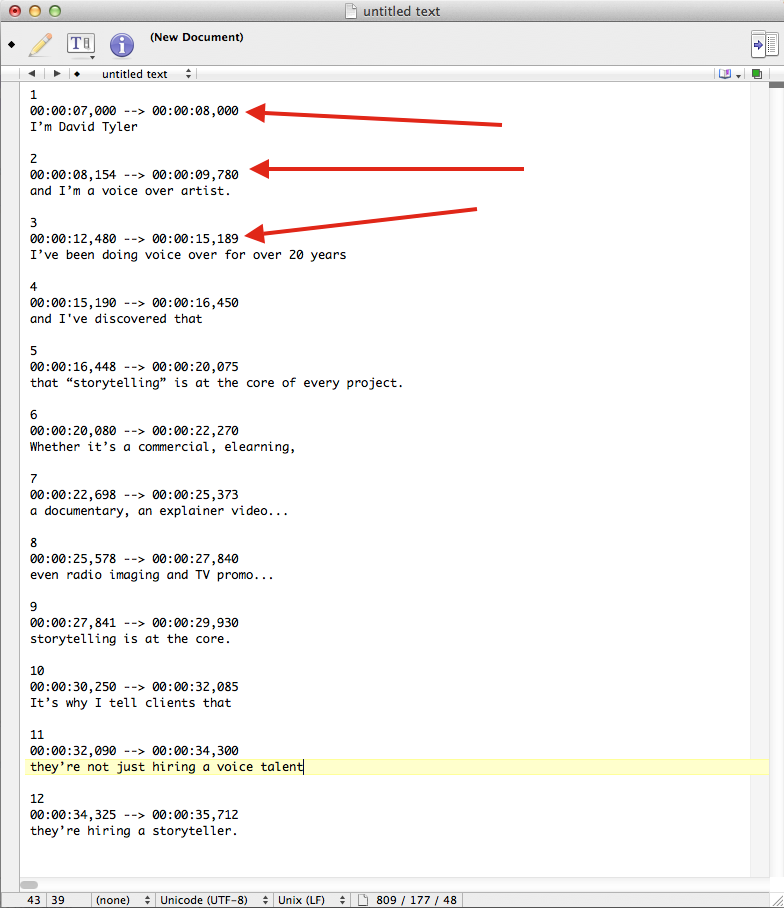
4. Then finally you need to add the time code for each of the phrases, like this. The time code on the left is when the subtitle will appear onscreen and the time code on the right is when it will end.
5. Once you’ve finished preparing your document “save as…” and simply add .srt to the end of the file name…and you’re done!
Upload Your .SRT
When you upload your video to Facebook, YouTube, Vimeo, etc., upload your newly created .srt file along with it!
I suggest that while you’re at it that you create French and Spanish translations to cover all of the bases. It is after all the World Wide web. Note: each language will need to be its own separate .srt file.
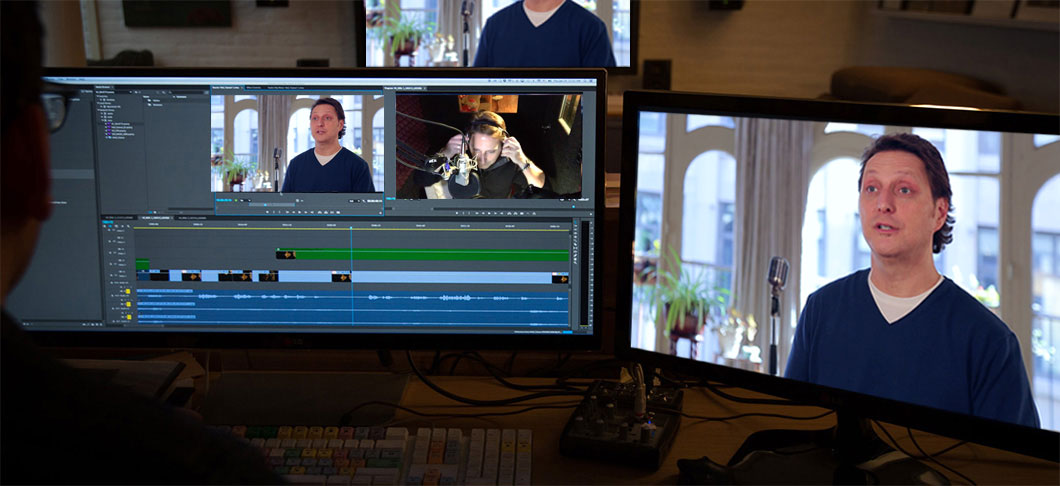
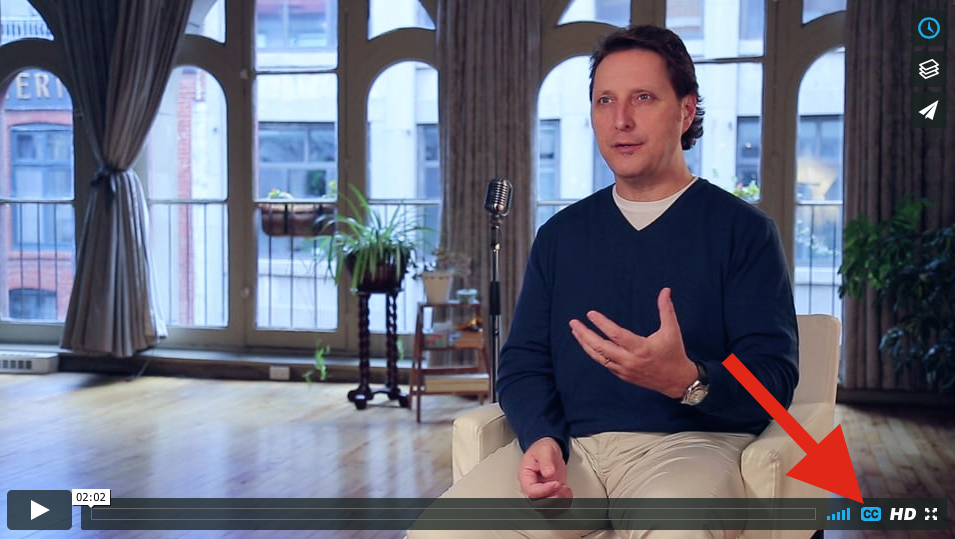
Click here to watch my final profile video. Be sure you have CC (closed captions) activated to see how it turned out. You can toggle between the English subtitles and French translation.
Free Bonus Swipe File Click here to download a swipe file to get you started on creating subtitles for your video in the .SRT format! Open it in your basic text editor and modify it as you like.
I hope this was helpful. Leave your comments and a link to your finished video with subtitles below.
I’ve had Melodyne in my audio production arsenal for many years and have used it only occasionally to play around with for radio imaging voice overs. It’s main purpose of course is to fix out of tune singers in music production. I call it the more beautiful sister of Auto-Tune.
The other day a friend of mine sent me a video interview his son had done with Dr. Gerald H. Pollack talking about The Fourth Phase of Water [video]. The interview was well done, good questions, great information, nicely edited but at one point in the video the thing all sound guys fear the most when doing these kinds of documentary interviews, outside the location a truck started backing up! Beep, beep, beep, beep….
While it’s understandable given the location and while slightly annoying, I thought it would have been better to find a way to get rid of it in post production. The best they could have done was to play with the EQ and try to knock it down a bit so it wasn’t as harsh…but then I had a thought!
Melodyne.
I opened up a new session in ProTools and imported the video with it’s audio track. Loaded the Melodyne plug in on the audio track and voila! There it was as clear as day…!
I highlighted it and hit delete. And as simple as that, the sound of the backing up truck was gone! Amazing!
Of course there is a bit of EQ tweaking to do but for the most part Melodyne had done the job.
Try it out next time you have the same issue, you’ll be amazed too!
I’ve always said when you have the right tools you can make anything happen. The same goes for my voice over business.
I’ve been asked a million times before what software I use (ProTools), what microphones I use (TLM 103 + MKH 416), what’s my mic preamp (BAE 1073MP) I’m even asked about the plugins I use to process my voice, which depending on the job, is just a combination of compression and EQ. But nobody ever asks me what I use the majority of the time, in my office to help me run the business. What’s up with that?
The tools I use day-in-day-out to run my business are just as important and in some cases MORE important than what I use in the booth.
For that reason, I’ve decided to share the 5 most indispensable tools I use to run my voice over business.
Tools List
Wunderlist (Mac/PC) – My assistant and I live in the same city, by car about 30 minutes away, but thanks to Wunderlist I don’t need to call and ask her what she’s working on, see what’s she’s finished or to give her more information on a specific project. Wunderlist sits on my computer desktop in my office and in my iPhone. No matter where I am my assistant and I are able to keep the business on track.
Fetch (Mac) – I’ve been using Fetch since they invented it to quickly and seamlessly upload finished audio for clients to my online web server. Each client has a ‘Fetch droplet’ on my computer that is directly connected to their password protected folder on my server. I just drag and drop finished audio and zipped files onto the clients droplet and off they go! (PC Alternate: WS_FTP, 20% off with this code: Fetch20)
Typinator (Mac) – Typing the same thing over and over to clients when sending notifications that their audio is ready to download from my server (especially during TV sweeps) is a thing of the past with Typinator. I’ve set up simple codes that instantly expand into larger messages and shave off time when sending emails to clients. (PC Alternate: AutoText)
MaxBulk Mailer (Mac/PC) – Communication is one of the most important aspects of my business. I’m in touch with my clients regularly with general information, like new blog posts they might be interested in, an article that I’ve read or vacation notices. MaxBulk Mailer is the software that I use to stay in touch. It resides on my office computer and lets me email to my entire client list (or just a segment) quickly and easily anytime it’s necessary.
Zoom.us (Mac/PC) – Thanks to the internet and web cams, traditional conference calls are a thing of the past. I believe reading peoples facial expressions and body language is just as important (and sometimes more important) than hearing only the tone of voice. For that reason, I started using Zoom to meet with clients to discuss projects before and after I get into the booth. I use it when doing live webinars with my voice over students and also to meet with my assistant for our weekly face-to-face.
Bottom Line
The tools you use should help you achieve your goals not interfere with them or bog you down. Each of these tools helps me to get to where I want to be faster and more efficiently. Check them out!
DO YOU WANT more useful tips for your voice over business? Subscribe to MyVoiceOverCoach.com
Whether you’re building a website, blog post, creating an info graphic or ad campaign, here are 9 of my favourite places to get royalty free stock images.
1. PIXABAY – Has got to be the easiest of these website to search for the right picture. You can use the category browser or use the “search” feature. The only downside to the search feature is that sometimes it will show you pictures that come from paying services like Shutterstock which kind of defeats the purpose, but that’s how the finance the website.
2. GRATISOGRAPHY – Another beautifully designed website, easy to browse. There are lots of fun and quirky choices here…also some very attractive shots too. All pictures were photographed by Ryan McGuire and free of copyright restrictions.
3. PICOGRAPHY – While the collection here is smaller than the previously mentioned websites, the pictures are truly stunning. Try the search feature and see what you can come up with for your next project in need of a photo. Picography is also looking for your input on their pics, note the comments set ion for each pic.
4. PUBLIC DOMAIN ARCHIVE – The collection here is likewise smaller, but the quality of those images is high. This website is put together by Matt Hobbs and his family. For a small fee ($10/month) you can get access to a private collection of images and bulk downloads.
5. UNRESTRICTED STOCK – While they do provide high quality photographs, the forte of this website seems to be it’s vector graphics and icon sets. Be sure to read their license agreement before you download.
6. LIFE OF PIX – You can use the Google-esque search engine or browse through another set of stunningly amazing pictures by category here. This website I’m proud to say has been put together by a local Montreal agency (Leeroy Advertising Agency).
7. PIC JUMBO – Another fantastic set of images for you to use in your personal or commercial work. What I like the most about this website (besides the photographs of course) is the “test-drive” feature that lets you see what the photo you’re thinking of downloading in various contexts. Try it out! This website also provides a premium service ($6/month) where you can have pics sent directly to your email.
8. UNSPLASH – Even more beautiful photographs here but in a “non-splashy” format. The Ello-ish style helps to keep your attention on the pictures themselves and not on the web design.
9. NEW OLD STOCK – And just incase you’re looking for picture from days gone past, this website should be your go-to. As it says on their rights-and-usage page, these photos are “to the best of my knowledge” available to the public domain. Depending on the picture you may want to verify if it’s OK to use in your project.
BONUS RESOURCE: DESYGNER – This may be the ultimate resource for royalty free photos. They offer millions of high-quality free photos that you can use commercially. It’s an extensive collection of free images from Pixabay, Unsplash, Photodexia, and Google, all in one platform.
Take your time to explore this list and decide which websites to bookmark for your next project. Depending on your style and what you’re looking for some of them will be better suited to your needs than others. If you feel compelled, share this post using one of the methods below. Happy browsing!
Why does Pro Tools make it so difficult to love them?
I’ve been using Pro Tools for the last 14 years, always upgrading when necessary even though they were typically slow to keep up with the Mac OS updates. I’ve been using the original Mbox with the LE version for most of my time with PT. I used to use Pro Tools FREE in the OS9 years (that was truly brilliant marketing).
As things slow down for the holidays I’m finally sitting down to look seriously at upgrading to Pro Tools 9…excited at the idea of not being tied down to using their hardware. As it turns out I’m not even eligible for their upgrade/crossgrade because I own an ‘original’ (meaning ‘old’) Mbox and will have to buy a full version ($629)…so much for rewarding my loyalty!
My recent purchase of Logic Studio ($499), which comes loaded with a lot more stuff than Pro Tools ever did has left my budget for purchases a bit thin so I don’t see the upgrade to Pro Tools 9 happening anytime soon.
So should I bite the bullet and cough up the dough? Or keep running on OS 10.5 with Pro Tools 8.0.1 (version 8.0.3 doesn’t work with my Mbox)… Or migrate all of my production work over to Logic and kiss the whole Pro Tools fiasco good-bye?
David Tyler is a creative communicator and voice over talent with 35+ years of experience in the broadcasting.
His mantra of ‘Stop Communicating and Start Connecting’ is his counsel to anyone attempting to use media, old or new, broadcast or online.
He writes and lectures on “The Art of Communicating Ideas.”
Paste your AdWords Remarketing code here
YOU'RE ALMOST THERE!
Fill out this form to download your copy
Thanks! Please, check your email to confirm your request!