by David Tyler | Aug 14, 2017 | Ad Agency, Ads, Advertising, Advertising Agency, Audio Production, Broadcast Narration, Broadcasting, Commercials, Post Production, Social Media, Technical, Videos, Writing
Early in my career, long before I was working on-air or doing voice overs I had a client that wanted French subtitles placed on an English video I had shot and edited. This was long before the internet and personal computers and honestly, I was lost.
I contacted a local post production studio and hired them to work with me on the project.
It was a long and tedious process and cost my client a lot of money to get done between translator, studio time and my fee.
The good news is that these days, in the digital domain it’s much simpler and cheaper.
What You’ll Need
You’ll need 3 things:
1) a basic text editor,
2) the transcript and
3) the time code of the video you’re creating .SRT subtitles for.
Get a Free App
I use TextWrangler to create my subtitles, it’s free Mac software. If you’re on PC I hear a good alternative is Notepad++ though I’ve never tested it.
The Steps
1. Create a blank document in your text editor, copy and paste your transcript into it.
2. Break up your transcript into short phrases, I don’t recommend going beyond 50 characters, that includes the spaces between words and punctuation (see an example). If you use too many words they will be pushed down onto a second line and could start obscuring your visuals.
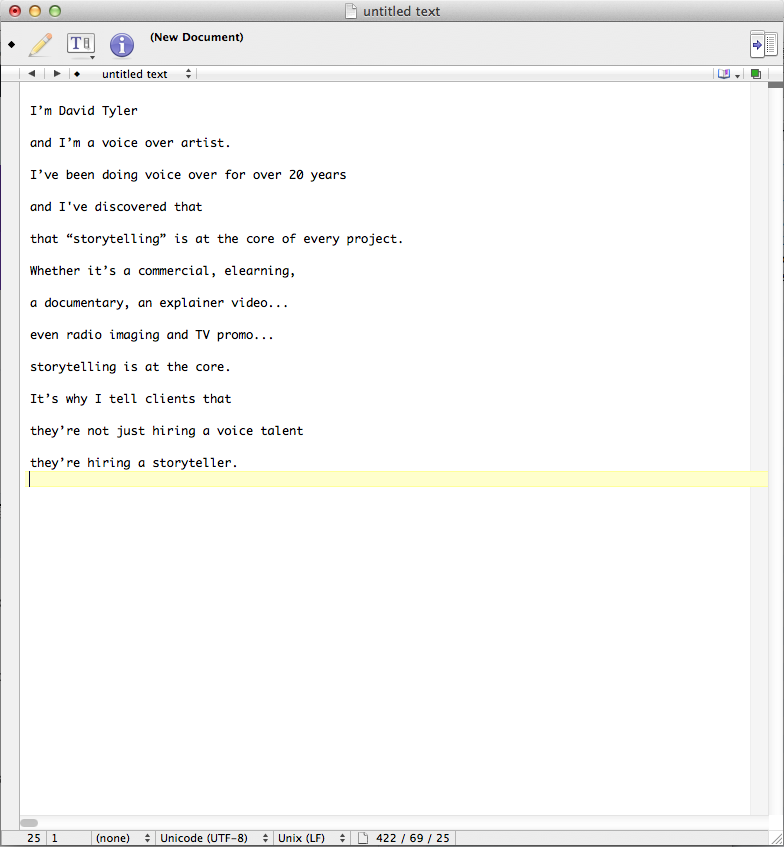
3. Then number each line sequentially on the line above it as in this example:
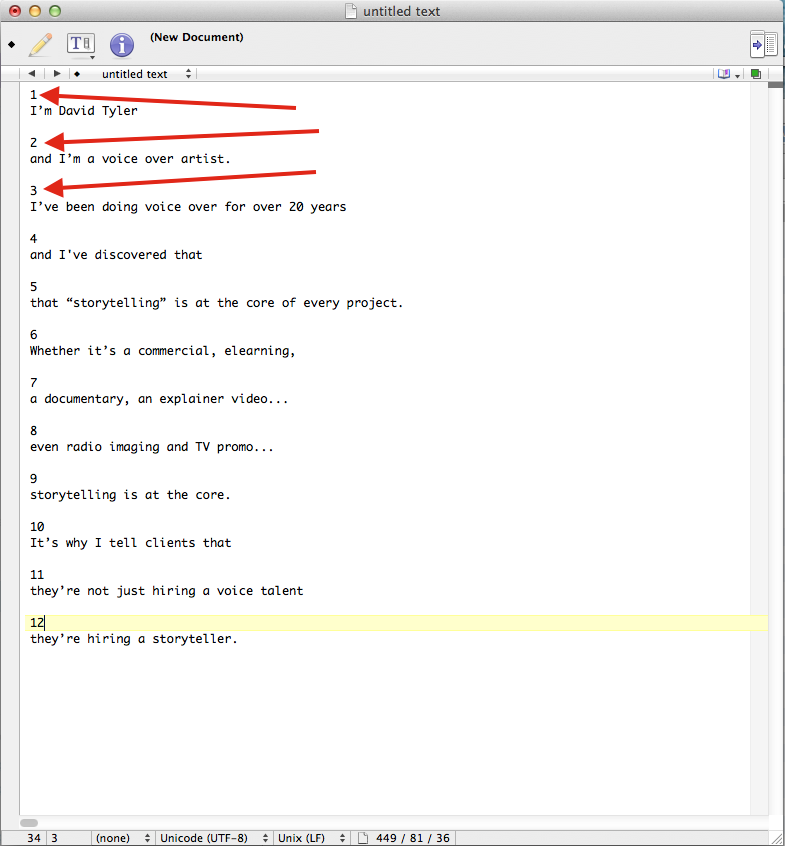
4. Then finally you need to add the time code for each of the phrases, like this. The time code on the left is when the subtitle will appear onscreen and the time code on the right is when it will end.
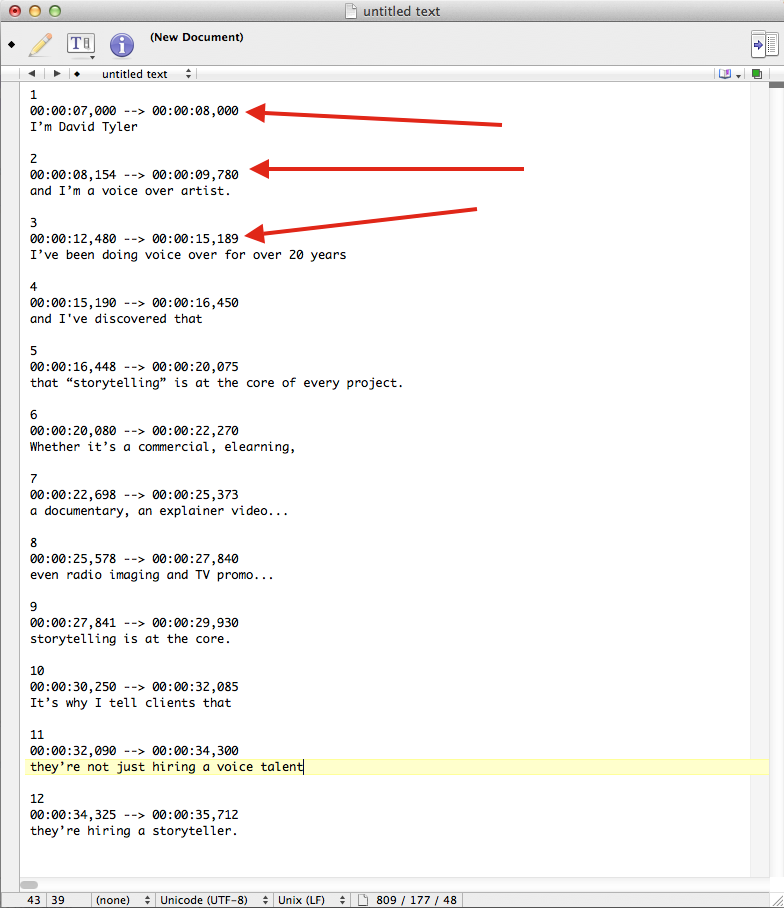
5. Once you’ve finished preparing your document “save as…” and simply add .srt to the end of the file name…and you’re done!
Upload Your .SRT
When you upload your video to Facebook, YouTube, Vimeo, etc., upload your newly created .srt file along with it!
I suggest that while you’re at it that you create French and Spanish translations to cover all of the bases. It is after all the World Wide web. Note: each language will need to be its own separate .srt file.
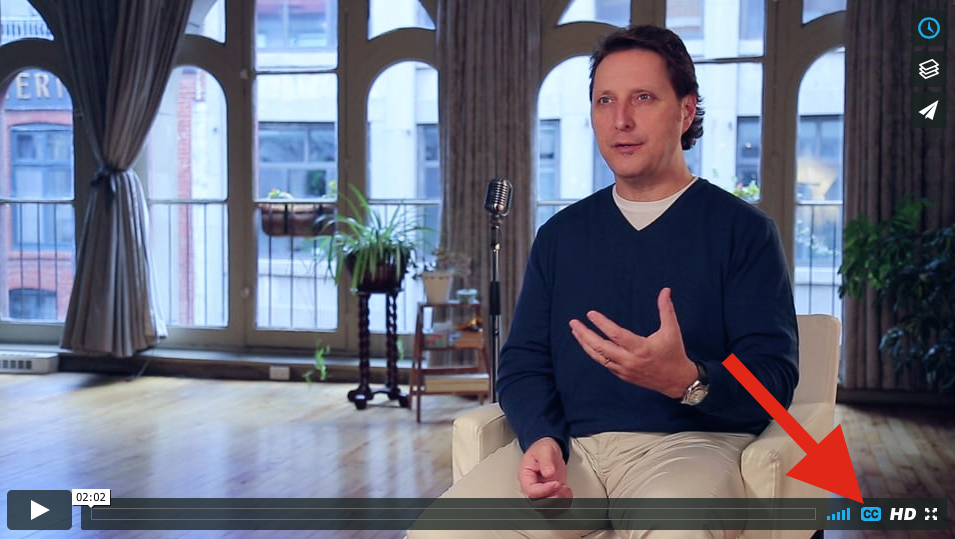
Click here to watch my final profile video. Be sure you have CC (closed captions) activated to see how it turned out. You can toggle between the English subtitles and French translation.
Free Bonus Swipe File
Click here to download a swipe file to get you started on creating subtitles for your video in the .SRT format! Open it in your basic text editor and modify it as you like.
I hope this was helpful. Leave your comments and a link to your finished video with subtitles below.

by David Tyler | Apr 27, 2016 | Ad Agency, Art of Communicating Ideas, Branding, Broadcasting, Facebook, Marketing, Marketing Small Business, New Media, Social Media, Software, Technology, YouTube
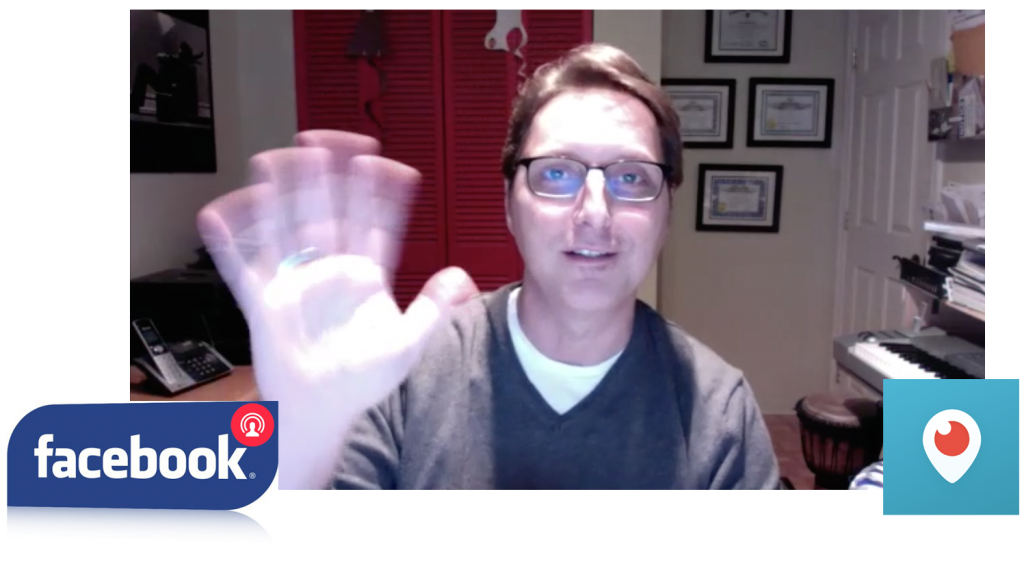
From the looks of it ‘live’ video on social media has become a thing. And to help it not turn into a monstrous thing from the deep I’ve put together this list of 10 tips to make your live Periscope and Facebook Live broadcasts successful and help you connect with your audience.
1. Your Title Should Grab their Attention
Think of the title of your Periscope like a newspaper headline. Write a great title that tells the viewer what it’s about and what they will see or learn. It should entice them to tune in. ‘Untitled’ isn’t an option for success.
2. Don’t Waste Time
Don’t spend the opening seconds of the broadcast swinging the camera around the room showing us stuff, print out a copy of your company logo and slogan and shoot that as you welcome us to the broadcast and verbally tell us what’s going to happen.
3. Stay Calm
When you point the camera towards you don’t act surprised by the people logging in to watch, it’s what you were expecting so go with it. Likewise, don’t start giving shout-outs to viewers unless someone of note shows up…like The Pope. It could happen…
4. Don’t Wait to Start
You should be starting the actual content of your live video broadcast within the first :60 seconds, don’t forget that people who joined late will be able to watch the replay for anything they may have missed.
5. Horizontal Please!
It’s one of my biggest pets peeves. My eyes are side-by-side on my head, not one on top of the other. Also, be sure to keep your head in the middle of the frame with your eyes on the imaginary line between the top 3rd and middle third of the frame. In the case of Periscope, when the comments and hearts begin to fly we will be able to still see your head.
6. Have An Agenda
As a guy who spent 25+ years working in radio and TV Studios, and doing hours of show prep before each broadcast…please, please have an agenda. Before you go live, outline what you’re going to say and the points that you intend to make. Then follow that outline.
7. Do A Midstream Recap
If you notice a huge spike in viewers, it’s OK to do a quick recap for those who just joined you, but again remember they can watch the replay later. Be brief about it and unless your broadcast is going to be an epic, don’t recap more than once.
8. Questions At the End
During the broadcast, if audience members start asking questions let them know that you will take questions at the end of the broadcast. This will help you stick to your agenda. And unless you have a fantastic memory (I don’t) have them re-ask their question later. Just like your midstream recap be brief and get on with the task at hand.
9. Leave Them Wanting More
After you’ve finished your presentation stay on to answer a few questions from your audience but don’t let this drag on. A good broadcaster knows to leave on a high note. Let them know if they have any further questions to contact you by email or via Twitter.
10. Use Graphics
Any URLs, email addresses, Twitter handles, etc. that you mention during the broadcast should be printed out on a sheet of paper and held up to the camera for people to take note of. Finish off the way you started with your company logo and slogan. Maybe a URL for your product or service.
Bonus Tip
Make an appointment with viewers. Either do your broadcast on a regular schedule (though this may not always be ideal) or Tweet 30 minutes in advance to your followers and friends that you’ve got a broadcast coming up. Mention the title too!
It’s a brave new world out there and everybody has the tools to be a broadcaster. As I’ve said before, the artist, broadcaster or craftsperson knows it’s not about the tools…but how you use them.
Let me know if I can help you or if you have any other tips to add to my list.

